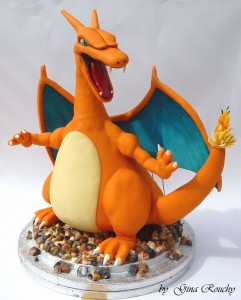
We just celebrated Isaac’s 10th birthday last weekend. He decided on a Pokemon theme to his party and wanted some relevant cake action. Like this! Um…
I know that my owl cake has given me some cred as a cake goddess, but this is waaaaaay beyond me. However, I did think I could make some sort of poke-ball-type deal. Tastewise, Isaac was all about cherries and chocolate and whipping cream. I realized he had a black forest cake a restaurant one time and that was what he was thinking about.
So my challenge was to create a confection that looked like this on the outside:
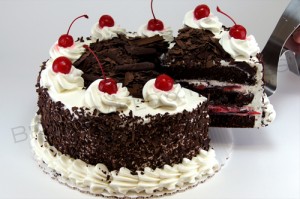
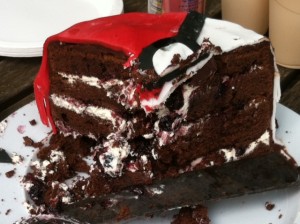
 While tasting like this on the inside:
After some googling, and perusal of my personal cookbook library, I decided that the key to this project was fondant. If you’re not familiar with this stuff, it’s more or less thick, hard play-do stuff that tastes somewhat toxic, dye-filled and sugary, and people use it to cover those ultra smooth wedding cakes and the like. You roll it out like pie crust and sort of wrap your cake in it. It comes in several colors, pre-mixed, and you don’t buy it at the grocery store. You buy it at JoAnn, which only serves to underscore the non-food, decorative-object feel of the stuff.
Obviously, at times like this Martha Stewart is your buddy. I watched a few fondant videos and read her recipe for black forest cake. Hers looked pretty fragile though, no leavening, and “serve immediately,” which I found worrisome. I decided to use her black cherry filling concept, but my own trusty devil’s food cake recipe, from Lucia Watson’s cookbook, that I’ve made about a hundred times. It’s durable. It never fails. But because we were having 10-12 kids and maybe as many adults, I decided to double it. I had 9″x 2″ cake pans (I think!) and made a double batch of cake batter, which split nicely into the two pans.
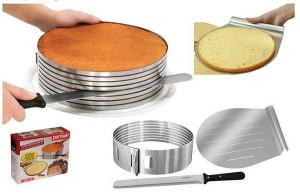
My next challenge was to slice these horizontally. What I really needed was something like this:
This would’ve been very, very helpful! However I did not have this wonderful thing, which I totally need, and had to wing it. I did nab a little tip from Martha Stewart though. You cut a vertical notch in the cake before cutting it, so that afterwards it’s easier to line up your (naturally somewhat slanted) layers.
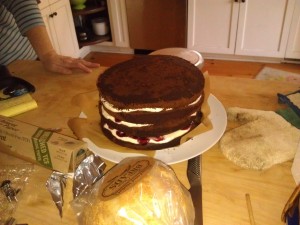
I did not remember to take a picture of this process. My entire brain was occupied by not letting the layers break or otherwise come to ruin. Nor did I get a picture of filling it. I put in what seemed an ample layer of whipping cream (Martha calls for Kirsh, but I just had normal vanilla extract and a little sugar in mine. ) Then layered on some of the somewhat sloppy cherry sauce per Martha Stewart. (It’s just dark frozen cherries, cooked with their juice in a simple syrup and cooled.) Then another layer of cake. And so on, up the stack until I had this towering sight before me:
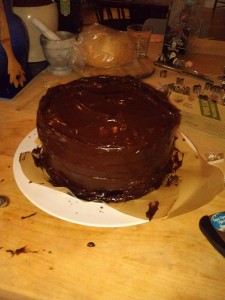
Since the fondant is much more about looks than taste, I had struggled with the idea of putting something frosting-like under it. The directions say to put a layer of buttercream frosting under it. People online said you could do chocolate ganache. My friend Martha checked with a pastry chef who was opposed to putting anything under it at all for fear of slippage. But I decided to risk the ganache, which I knew would taste awesome even if it did slip. At this stage, it looked like this:
Then, while grappling with the fondant situation, I chilled the cake. This set the ganache so that it was quite firm and stable and ready for the coup de gras. Avast ye fondant!
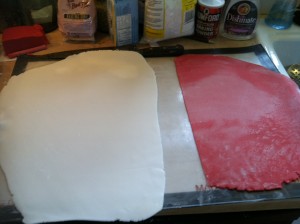
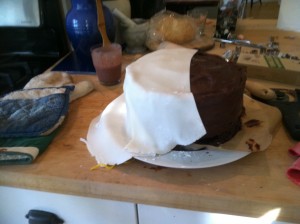
Yes, it rolls out like stiff pie crust. You need a lot of muscle to roll it. It was sort of a work out for me. You dust it with powdered sugar as you go, and here a Rollpat(r) does help. Then you roll it up on your rolling pin to transport it to the cake, and very gentle unroll it over the top.
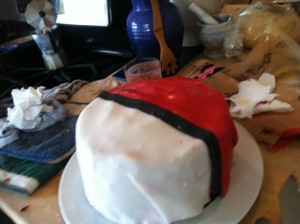
Add the next color…
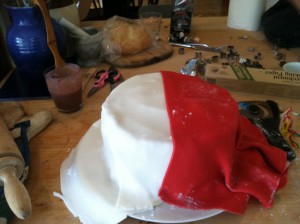 Add the black stripe, and then trim the bottom edge nicely….
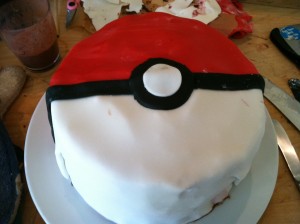
Another thing I didn’t realize I needed until I needed it: a whole set of graduated round cookie cutters. The dot on the poke ball can be achieved by placing a white circle of fondant on top of a slightly larger black circle of fondant. But this required ransacking the cupboards for glasses/cups/lids/whatever that would be the perfect sizes. Not easy!! Finally attained with a juice glass cutting the black and the top of a plastic water bottle for the white. Phew!
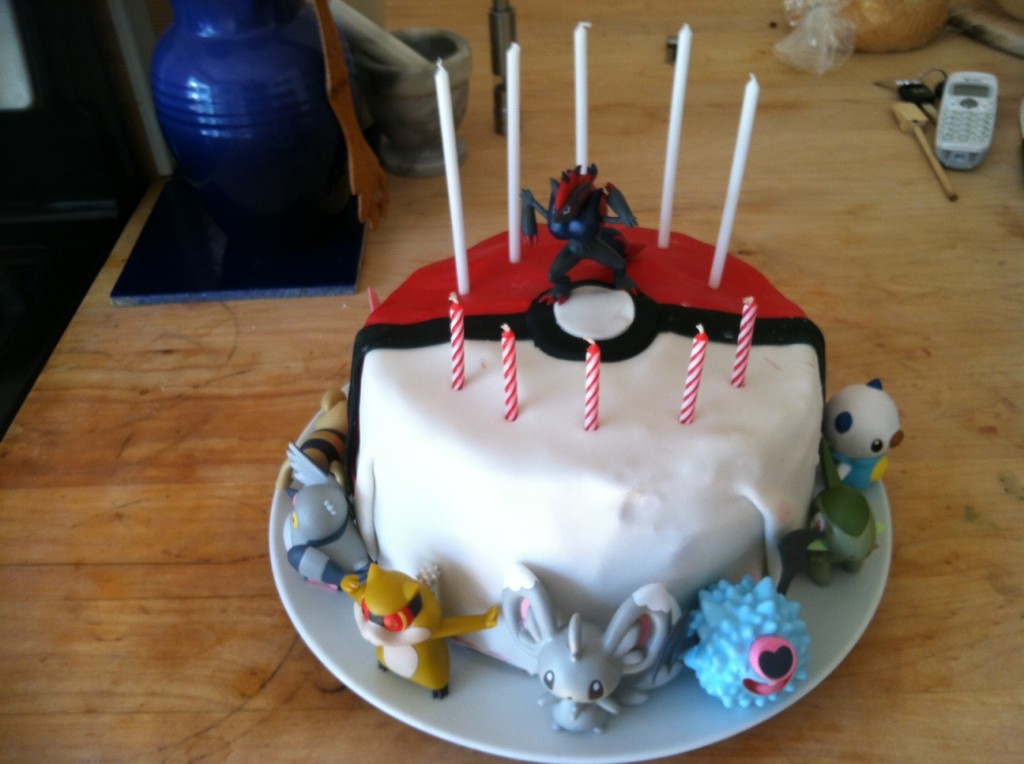
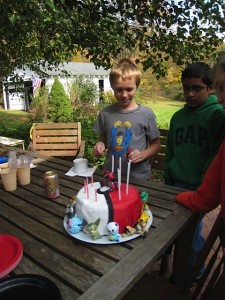
Okay, now we’re getting somewhere. Just need a few pokemon toys for the kids to take home as party favors, a few candles, and voila!!
I think the birthday boy was pleased.
And enormous as it was, it all got eaten up!
Now, before I go, let me share my learnings (people do say that, cringe):
- When dealing with several colors of fondant, start with the lightest and go towards the darker colors. Why? Because your rolling pin, work surface, and hands will be besmirched with the previous colors, as I learned when I found little red fingerprints on my white fondant.
- Clean up all the chocolate ganache slop before you go near the fondant. This was a mistake.
- Speaking of ganache, get that stuff REALLY smooth. Otherwise the lumps will show through, sort of like putting a quilt over an unmade bed.
- Put way more whipping cream between the layers, or better yet, make something with a little tensile strength, like cream cheese frosting. I was not pleased that the whipping cream sort of disappeared between the layers, because it’s mostly air and it got crushed.
- Don’t bother making even a quickie Zekrom costume for your child. He will take it off in the first five minutes, thus annoying you while also semi-embarrassing all his Pokemon-dressed guests.
- Get a cake slicer and right-sized cookie cutters.
- Party on! You only turn ten once!
 Copyright secured by Digiprove © 2012 Catherine Park
1 Response to Pokemon Black Forest Cake